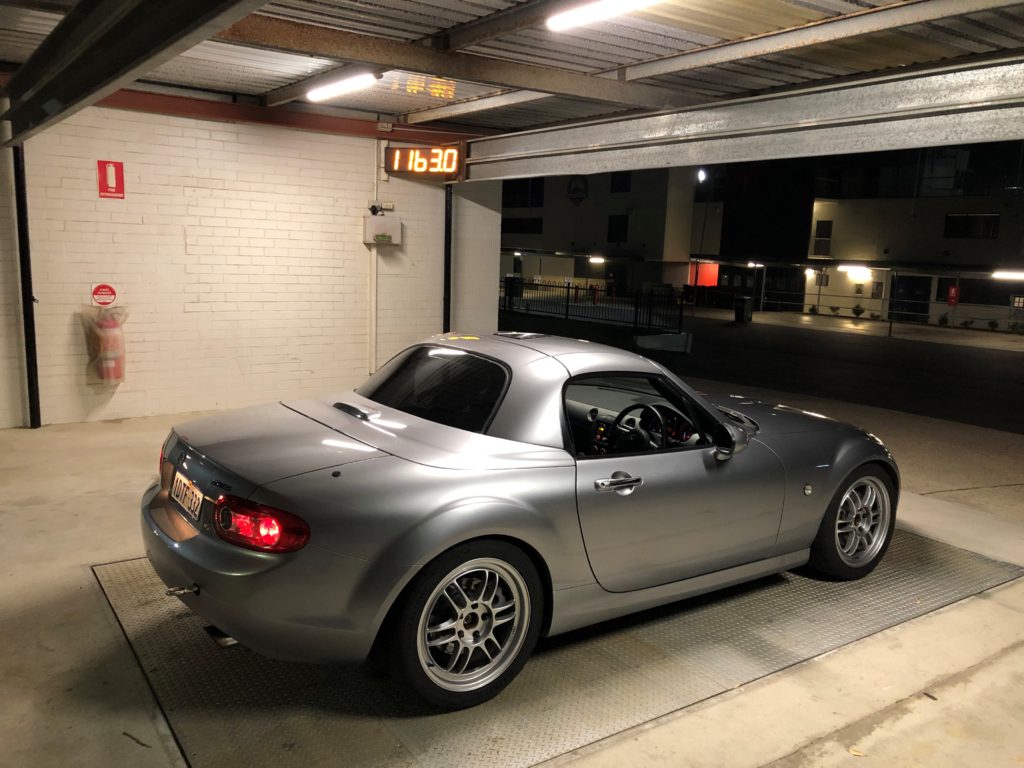
At a recent event I had the opportunity to put the car on a weighbridge. I had weighed the car on the same weighbridge just before starting the installation of the e-charger. As below the weight of the car currently is 1163 kg with a quarter of a tank of fuel. Comparing to pre-install weight this puts the total weight of the system at approx. 50kg.
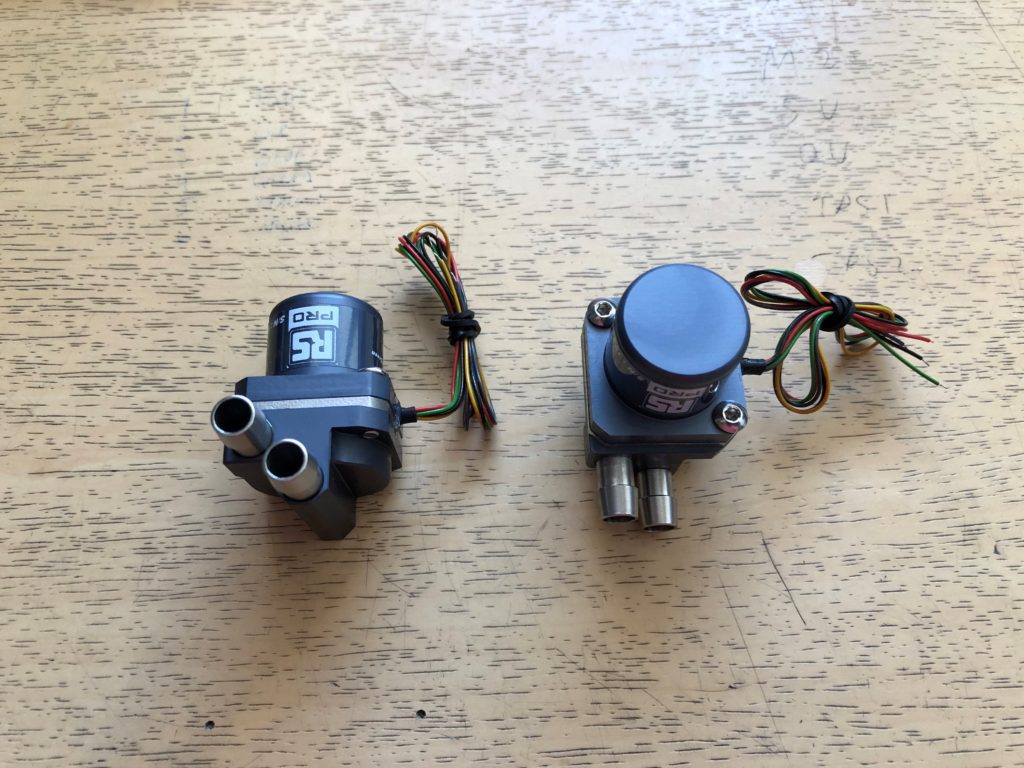
Recently the gear pump that circulates coolant through the two electric motors failed. Luckly it was discovered before any damage was done. It was decided to upgrade both gear pumps to something more reliable and with higher flow rate. The RS M400S pump was selected. I am not sure if they are rebranded or made under licence but the design of these pumps is by a company called TCS Micropumps out of the UK. They have the following specs:
Centrifugal pump design
Brushless drive motor and integral controller
CNC aluminium alloy construction
Free flow 2600ml per minute (water at 12V)
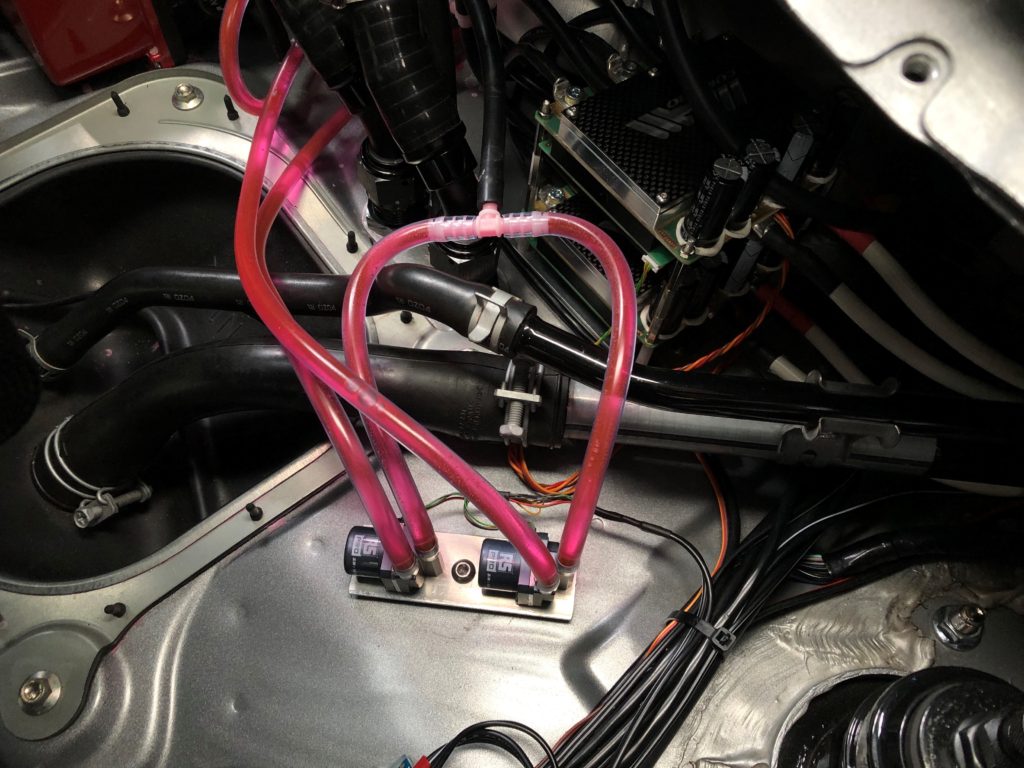
It is essential that these new pumps are primed for them to work so clear vinyl tube was installed on the suction and discharge as a visual aid for ensuring correct pump prime.
RS M400S brushless centrifugal pumpsPumps installed in vehicle
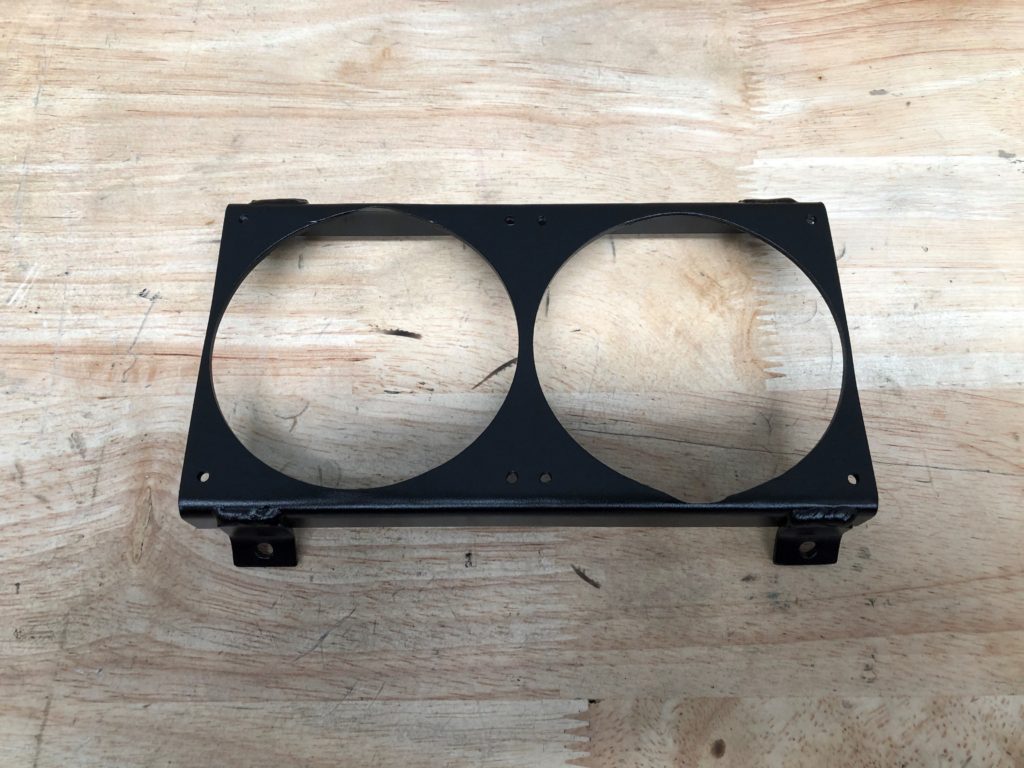
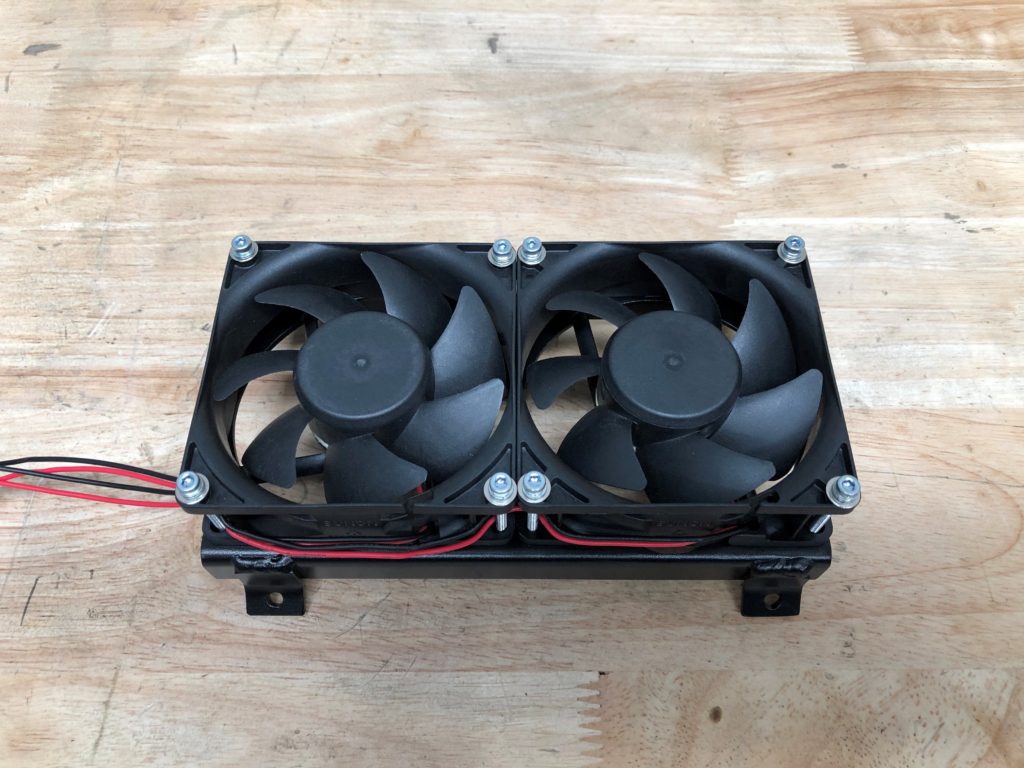
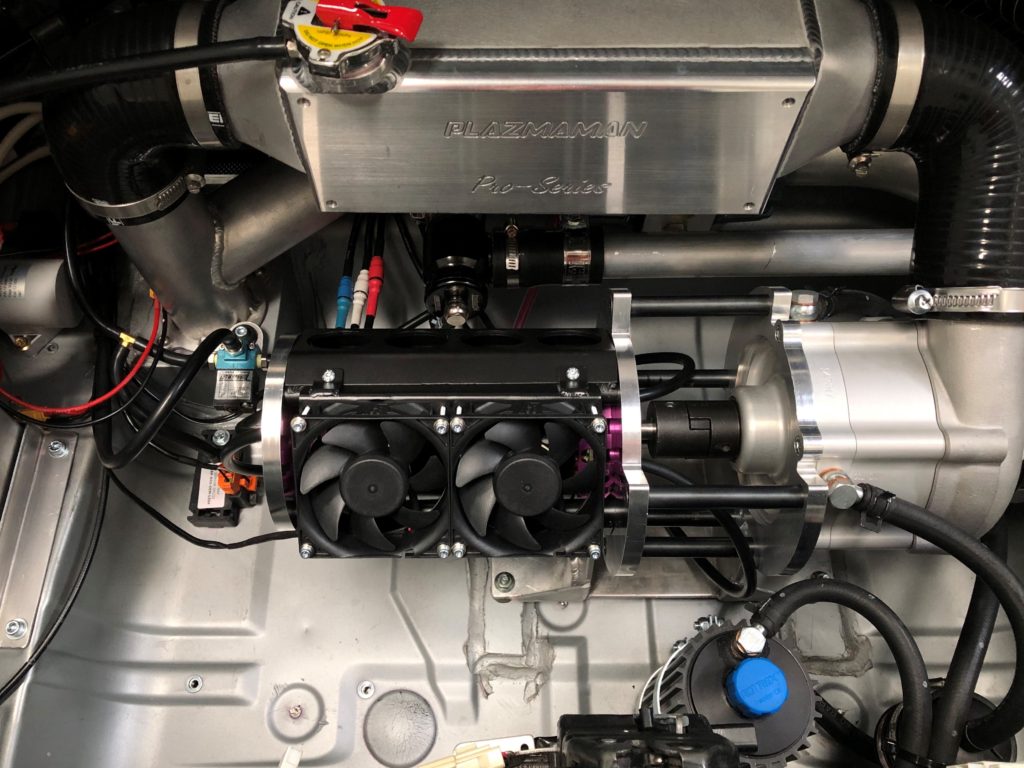
Final step of the upgrade was to install fans for air cooling of the electric motor rotors (the electric motor stators are water cooled). Two 80mm 12V fans were installed to circulate air past the rotors.
Fan shroudShroud with fans fittedFans installed on motors
Finally seeing some good results from all the recent upgrades. Recently participated in the first round of my local MX-5 club motorsport championship. The round was held at the Wanneroo raceway motorsport circuit at night in a point to point sprint format. System pressure control setpoint was dialled in at 8 psi. This is not the style of event I expected the car to have much competitive advantage as it would be relatively easy to keep a conventional turbocharged engine on boost around this circuit, however the car was surprisingly competitive winning its class and recording 3rd fastest time outright. The two cars that ran faster times were both LS V8 powered MX-5s running on R-compound tyres.
This was a good stress test for the system as there was long periods of wide-open throttle at high engine load, and running to redline in 4th gear on the straight. Multiply back to back runs were completed with all system temperatures well with in desired tolerances. At 8 psi boost pressure at redline in 4th gear each of the electronic speed controller is consuming 15kW of electric power for a combined consumption of 30kW. ESC input current is 250A (500A combined) with the electric motor winding current of 400A each.
Over the last several months there hasn’t been much work undertaken on the supercharger system. However there has been several upgrades to the car which became necessary due to the extra power and torque being generated by the engine.
The first was the suspension. For the last 3 years I have been running Progress Technology springs, Koni yellow sport shocks, and Progress Technology sway bars front and rear. The spring rates with this setup are quite soft with stiff sway bars to manage body roll. This was fine with natural aspirated power levels, but with the extra power the car became tricky to drive because of corner entry oversteer and corner exit understeer due to dive and squat.
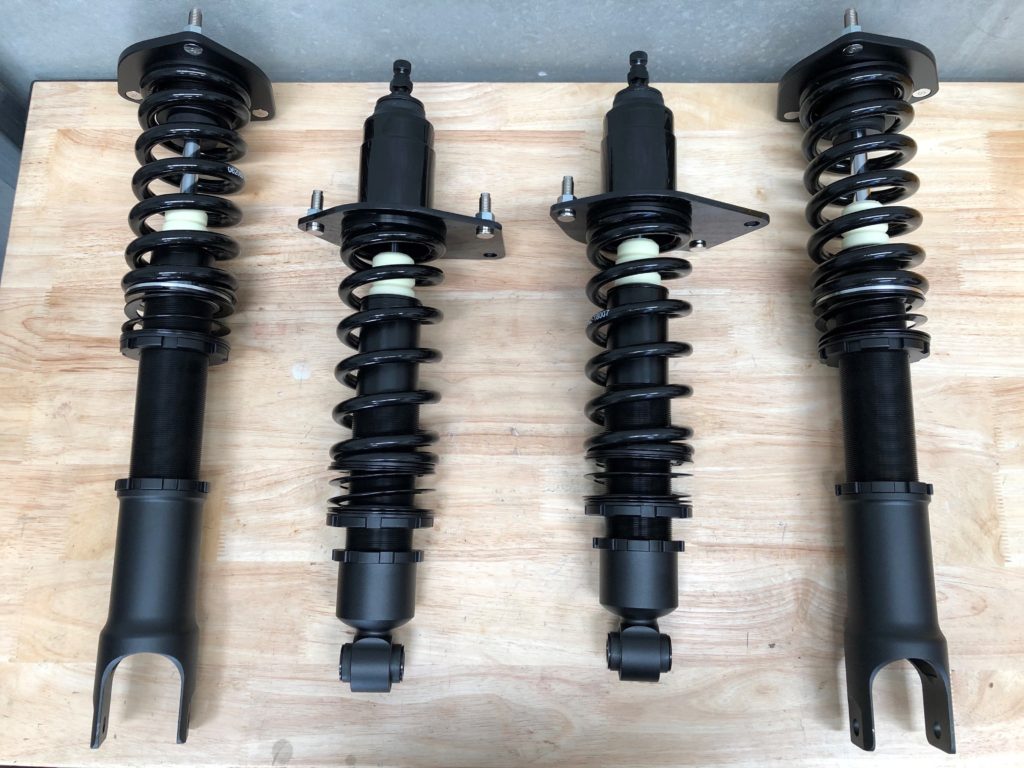
Time had come for coil overs and MCA reds were selected with 12 kg/mm spring rate in the front and 7 kg/mm in the rear. With the much stiffer spring rate sway bars were set to full soft front and rear. Initial test drive showed oversteer bias so rear sway bar was disconnected and this balanced the handling.
Adjustable rear lateral lower links and rear toe control links were installed as desired rear chamber angle could not be achieved using the factory cam bolt adjustment.
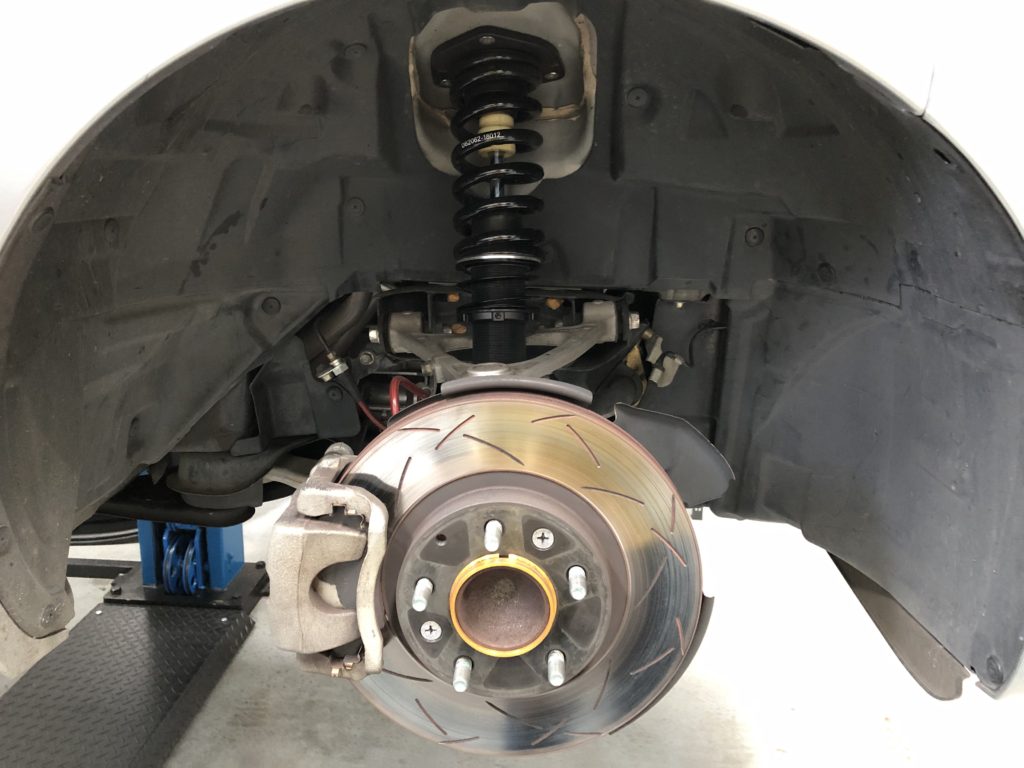
MCA red coiloversFront coilover installedRear coilover installed
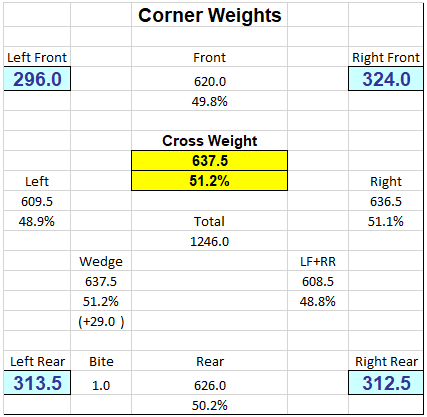
String alignment was performed and and ride heights set. A set of corner scales were hired to fine tune cross weights. Below are as-left corner weights with 82 kg in the drivers seat and 25 litres in fuel tank. With the supercharger in the back the weight distribution is more rear biased than it otherwise would be which was one of the goals of the project.
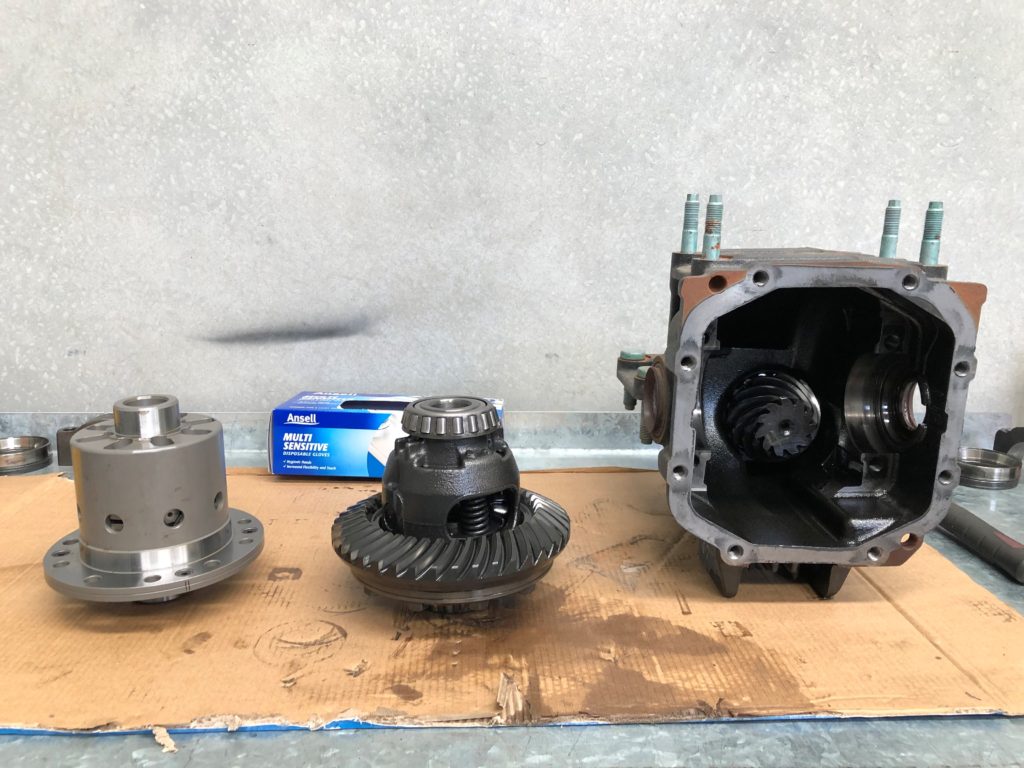
The differential was the next area to be upgraded. The factory LSD is a GKN Super LSD which uses a tapered friction surface (taper ring) integrated into the side gear. As with the suspension this worked great when the car was natural aspirated but I didn’t like the lockup characteristics with the extra torque from the supercharged motor. Also, these diffs are known to wear quickly and break the tabs of the taper ring in higher power applications.
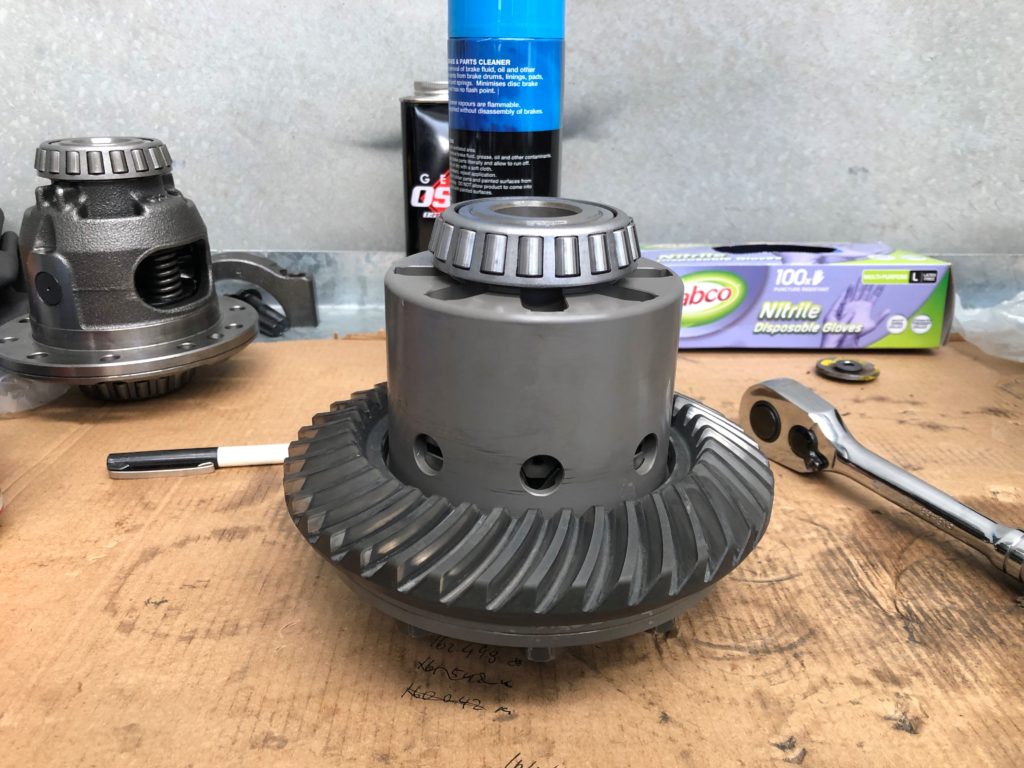
The OS Giken Super Lock LSD was selected in a 1.5-way configuration to replace the factory LSD. The OS Giken is a mechanical clutch type differential which has a higher number of clutches than most other options. This helps smooth the transition to 100% locked when power is applied but also quickly unlocks on corner entry. I am very happy with the LSD so far.
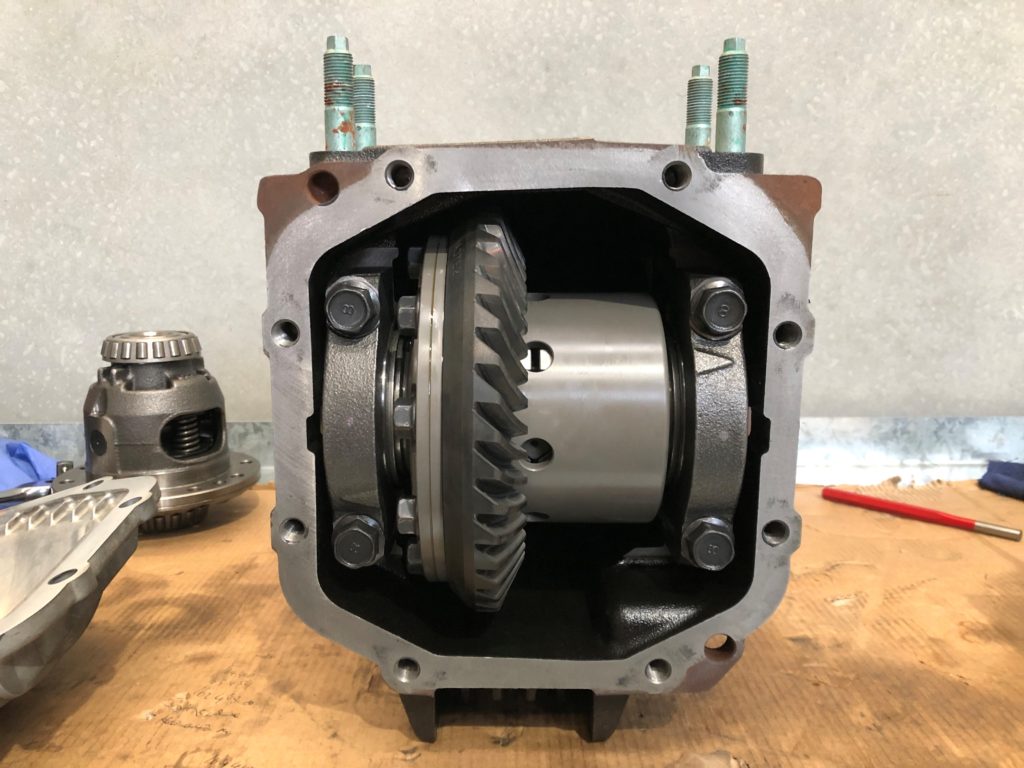
Factory LSD in ceter, OS Giken Super Lock on leftOS Giken LSD with crown gear and new bearings installedOS Giken LSD installed in differential housing
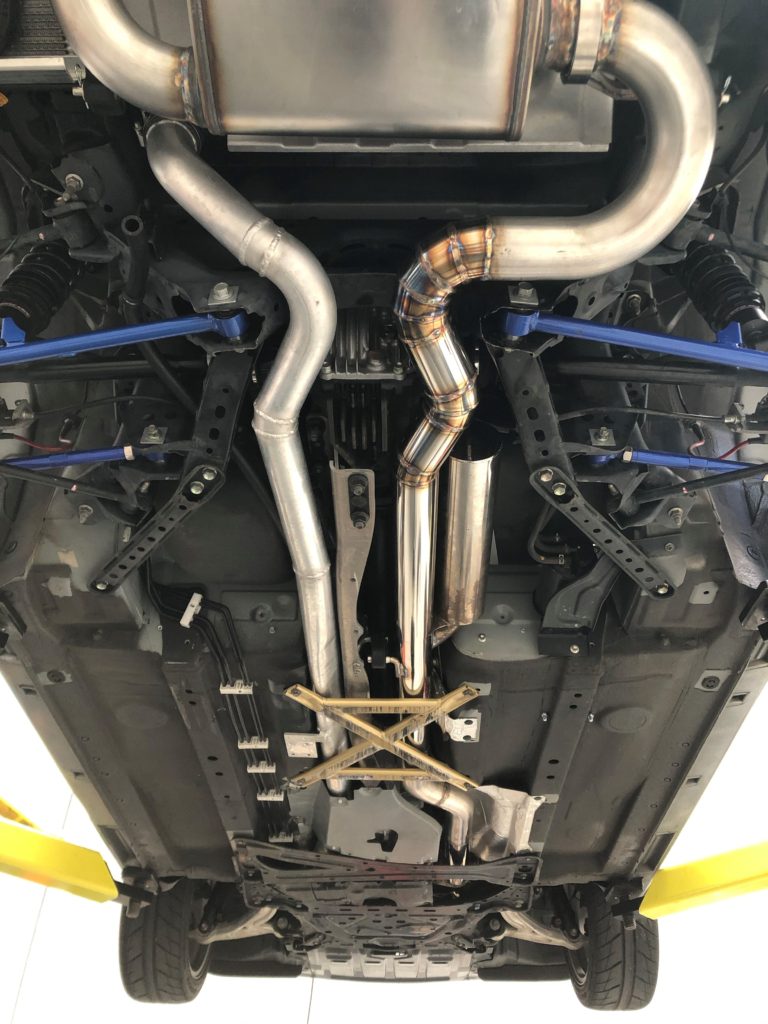
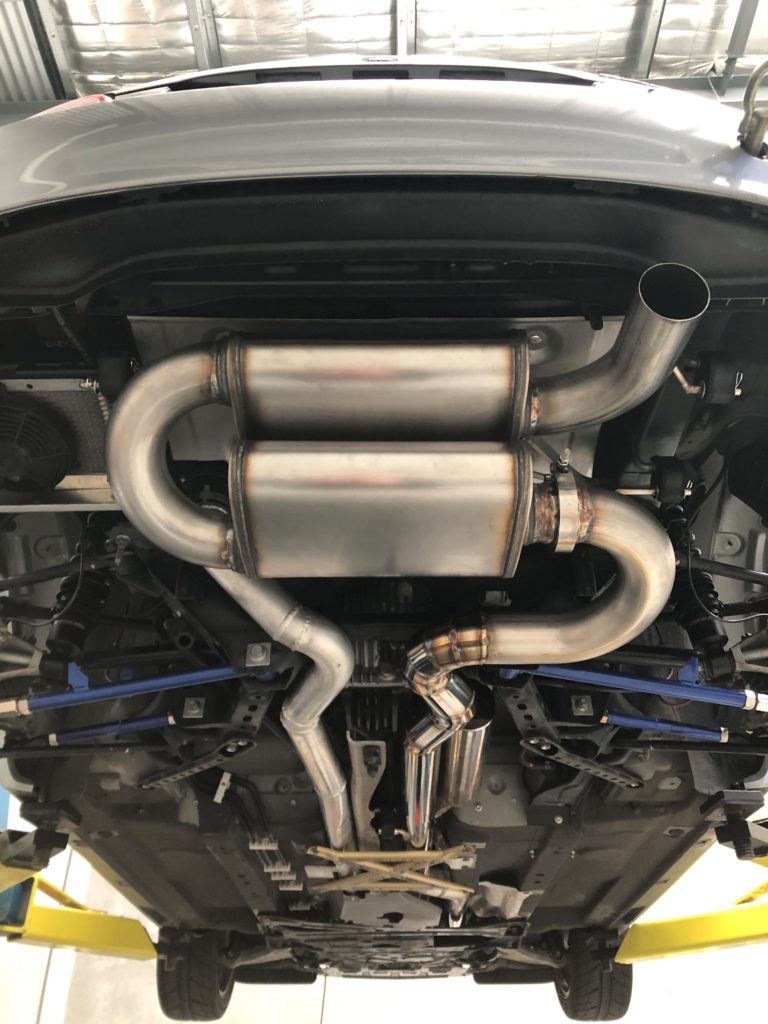
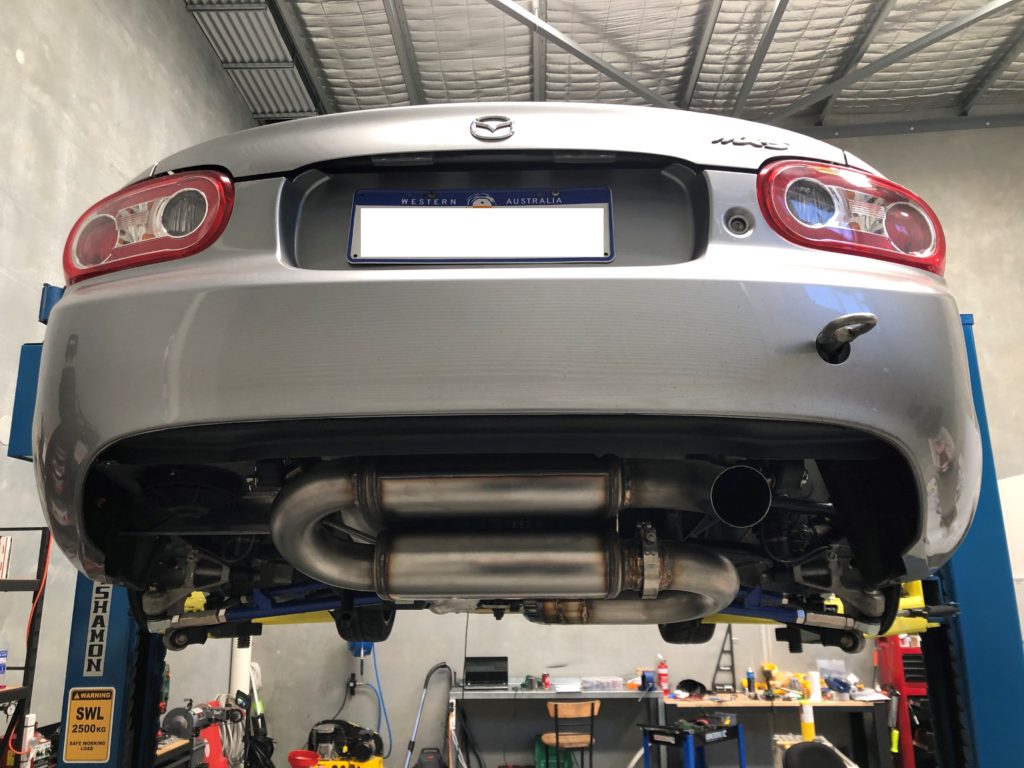
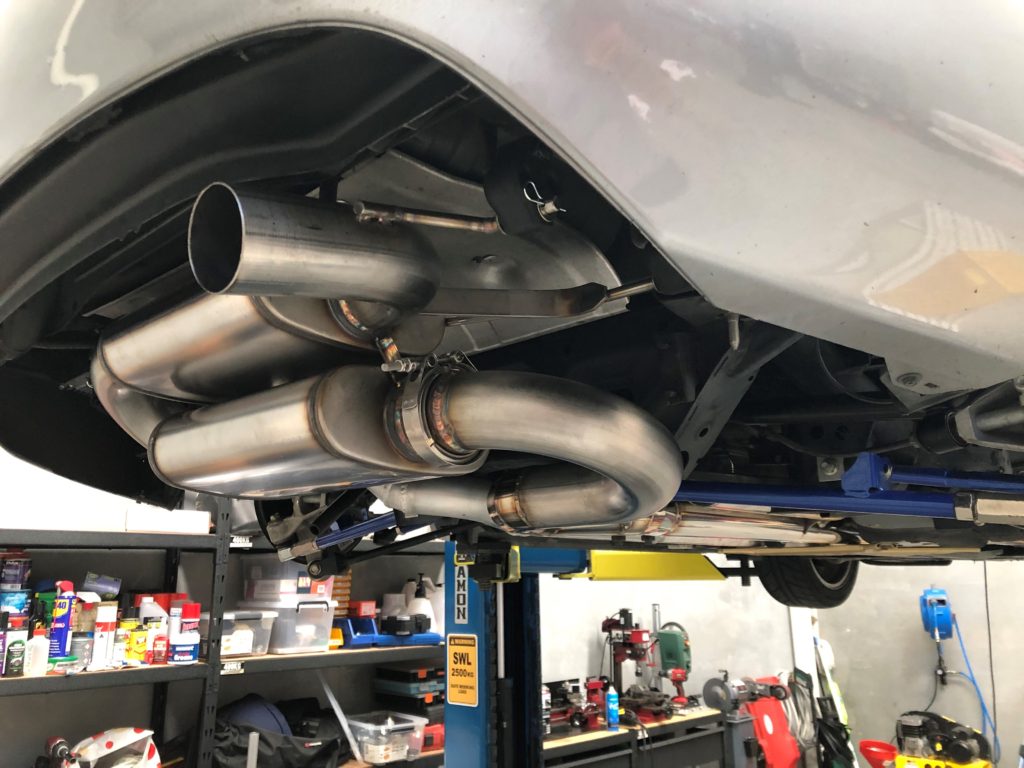
The exhaust has been on hit list for an upgrade for some time. At a recent event I got pinged for exceeding track noise limits so our hand was forced. Decision was made to delete the catalytic converter and run 3” from the header collector back (previously 2.5”). Header is RoadsterSport MAX Power. Noise would be reduced by running dual 3” stainless steel straight through mufflers behind the rear axle. The Helmholtz resonator from the previously installed RoadsterSport midpipe was retained as it does an excellent job of reducing exhaust drone.
The system was built from 3” SS exhaust pipe, two 45 degree 3” SS mandrel bends, two 180 degree 3” SS mandrel bends, and a 90 degree 3” SS mandrel bend for the outlet. Pie cuts were used for the tricky section under the diff. A V-band was used to connect the midpipe to the rear muffler assembly.
Midpipe with Helmholtz resonatorRear mufflersRear viewV-band clamp
The factory manifold air pressure (MAP) sensor was upgraded from the factory 1 bar absolute sensor to a 3 bar sensor for visibility of boost pressure on the Ecutek logs. Whilst splicing this sensor into the Mazda wiring harness, the MAP signal was also wire into the supercharger control system.
The pressure control logic now operates as per below:
• The dial on the HMI selects the maximum boost pressure setpoint (anywhere up to 8 psig) • The actual in-use pressure setpoint for the PID control block is calculated by multiplying the engine throttle percentage (foot pedal) by the maximum boost pressure setpoint, that is if the dial is set to 8 psig then: – 0% throttle equates to a boost setpoint of 0 psig – 50% throttle equates to a boost setpoint of 4 psig – 100% throttle equates to a boost setpoint of 8 psig – The relationship is linear and constantly variable with throttle position • When throttle position is less than 50% the process variable is the pressure sensor immediately downstream of intercooler (upstream of engine throttle body) • When throttle position is greater than 50% the process variable is the MAP sensor (downstream of the engine throttle body)
This setup gives excellent control of boost pressure and engine torque by modulating throttle pedal. Further refinement of PID tuning constants has also been completed. These changes have had a improved power delivery and driveability.
3 Bar MAP sensor on right, boost gauge sensor on left
The car is becoming very competitive. Below is a video from the latest round of the MX-5 club motorsport championship held at the Wanneroo raceway motorsport circuit run in a point to point sprint format. I made a bit of a mess of the hairpin handbrake turn but this lap was the fastest outright of the night. Quicker than two LS V8 powered MX-5s on R-compound tyres (I am running 215 section Hankook RS4s). The run was early in the night as the clutch began slipping in 3rd and 4th gear and got progressively worse as the night went on so ended up finishing round 2nd outright. A clutch upgrade is required to hold the torque.
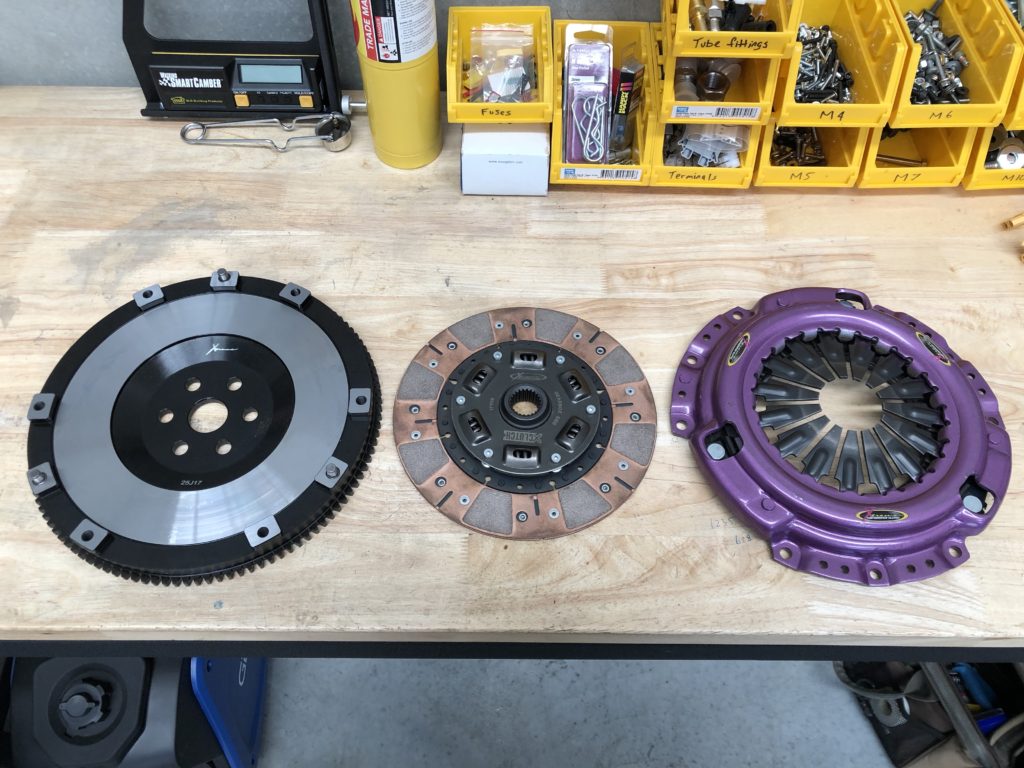
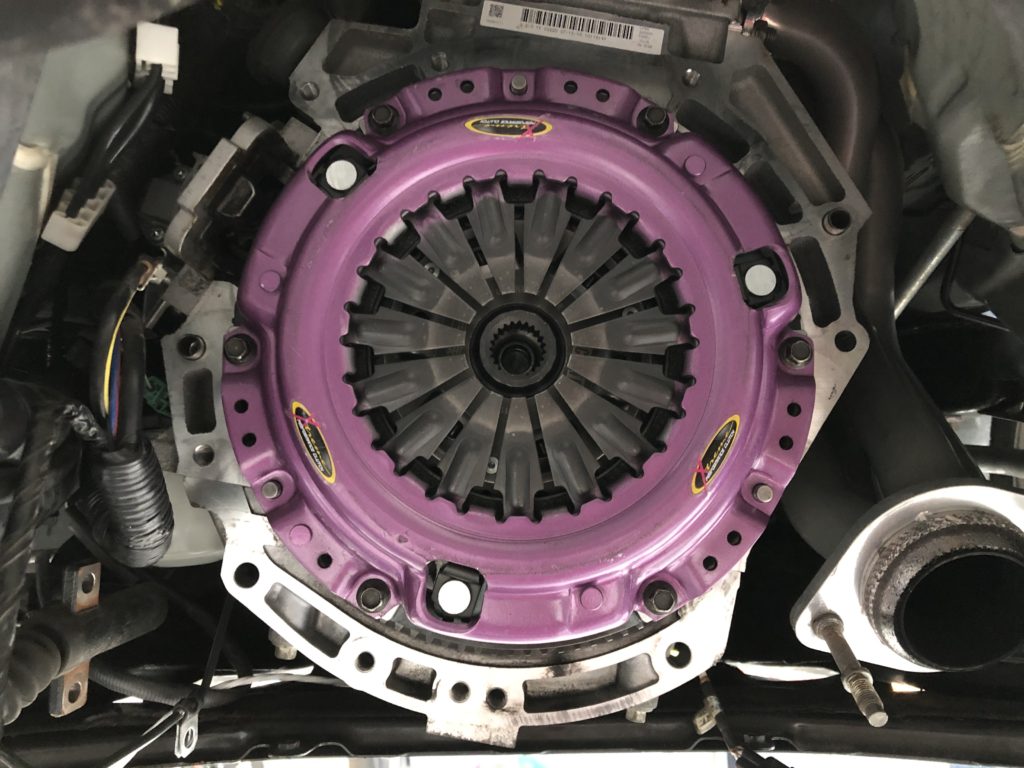
After looking at all the options I decided on the Xtreme heavy duty cushioned ceramic clutch and a Xtreme 5.56kg chromoly flywheel (OEM flywheel is 7.35 kg). I looked at all the heavy-duty organic options and they didn’t have sufficient torque capacity.
The new clutch has much more bite and it is more difficult to launch in first gear without spinning the tyres. Initially there was some shudder and chatter on engagement but this has reduced as the clutch has bed in.
Xtreme clutch and flywheelClutch installed
The increased bite of the ceramic friction material and the much stiffer sprung clutch disk has also caused axle tramp during launch and hard acceleration. The factory diff bushes are very soft rubber so have been replaced with SuperPro polyurethane bushes.
SuperPro polyurethane bushes installed in differential mount